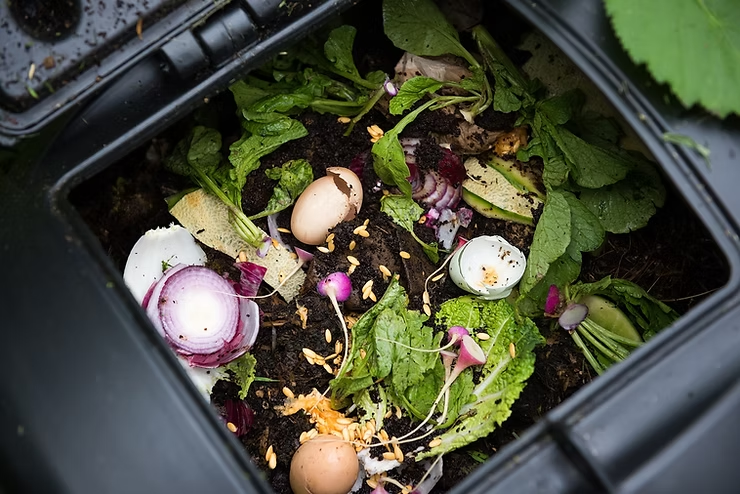
Start a compost bin at home with these simple steps
- Willy's Wilderness
- Nov 26, 2024
- 2 min read
Updated: Jul 24, 2025
The best pet you can have is one that doesn't require a lot of maintenance, you can feed for practically free, doesn’t make noise, doesn’t make a mess, you can have more than 1,000 of and is great for the environment!

What kind of pet would that be? Hundreds of red wiggler worms inside your very own vermicompost bin. Learn how to make one for your home.
Materials
Two plastic tote bins or plastic shoeboxes
One lid
A hand drill with a quarter-inch drill bit to poke holes in the lid
Leaves, mulch and other organic matter
Shredded cardboard, paper and egg cartons
A spray bottle of water
Fruit and vegetable Scraps
Red wiggler worms
Instructions
Create airflow: Use a quarter-inch drill bit to make holes for air flow along the sides of the container near the top as well as the lid.
Make the bed: Begin filling your vermicompost bin with "brown" bedding material. You can use coco coir, dry leaves, shredded paper (non-glossy), cardboard, egg cartons, dried grass clippings and straw. The smaller the pieces, the faster the worms can break it down. Remember, worms have tiny mouths, and it takes them a while to process materials.
Wet the bed: Use a spray bottle to lightly dampen the bedding material. The bin should never be wet, but similar in consistency to a wrung-out sponge. Mix the material around and spray again. Worms love it wet, but if it’s too wet the vermicompost process won't work properly.
Add the worms: Once you have created the ideal habitat for the worms, place them in the bin. You can dig a little hole in the center to get them started, then cover them with bedding.
Tuck them in : The worms may take some time getting used to their new home. It also might take you some time to figure out just the way they like things. It is a good idea to place a few sheets of damp newspaper or a thin piece of cotton cloth to tuck the worms in their bin. This helps keep them in the bin and prevent them from crawling up to explore places they shouldn't.

Give them food: Under ideal conditions, worms can eat their body weight in food each day! To keep your bin from becoming smelly, err on the side of caution. Overfeeding can cause your bin to become stinky. Check your bin every few days by carefully stirring the bin. This allows air into the bedding and lets you see if the food is gone or nearly gone. If it is, it's safe to feed again. Gently dig a small hole in the bedding, place food in it and cover it back up. This helps reduce odor and lets the worms find their meal more quickly. The smaller the pieces of food are, the more quickly they will get eaten. Add some "brown" bedding material to keep your vermicompost bin in balance, keeping it from getting too wet.
Take it further
Spread the love! Once your worm bin is established and happy, offer a friend a jar of worms and worm castings to start a vermicomposting bin of their own!
____________


